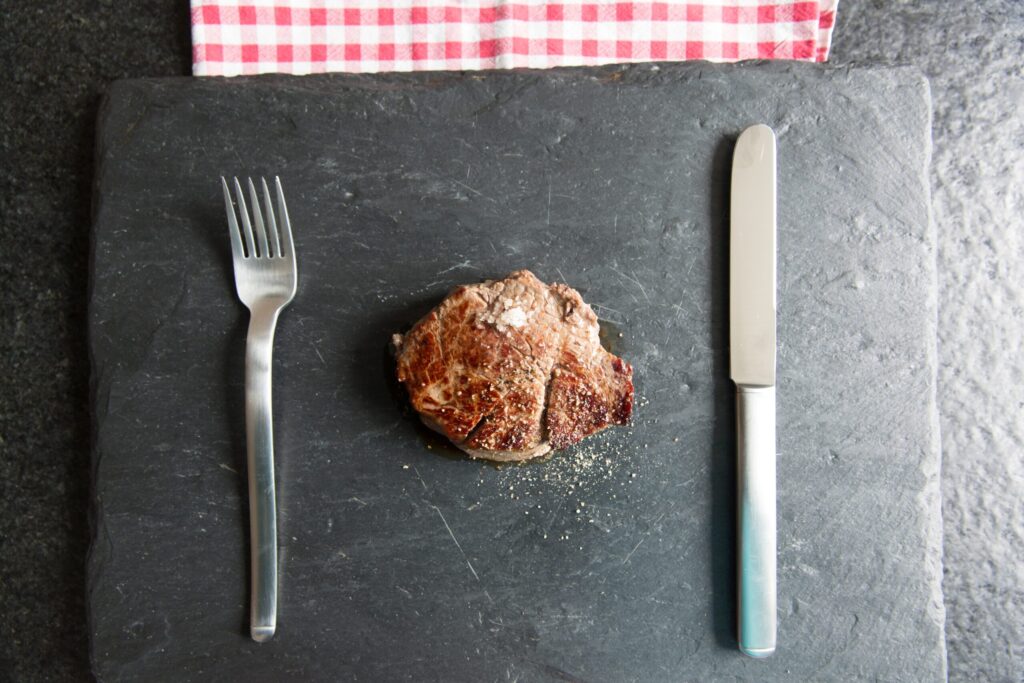
In this detailed blog post, we’ll walk you through the step-by-step process of how to reverse sear a steak, unlocking its full potential and ensuring a memorable experience.
When it comes to cooking steak, achieving the perfect balance of a beautifully seared exterior and a juicy, tender interior can be a challenge. Enter the reverse sear method, a technique that guarantees mouthwatering results every time.
1) Selecting the Right Cut
Begin by choosing a high-quality steak cut that suits your preferences. Popular options for reverse searing include ribeye, New York strip, or filet mignon. Look for steaks with good marbling and thickness, as they tend to cook more evenly.
2) Preparing the Steak
Before cooking, remove the steak from the refrigerator and let it sit at room temperature for about 30 minutes. This allows for more even cooking. Pat the steak dry with paper towels to ensure a better sear.
As renowned chef and author Anthony Bourdain once said, “Never, ever cook a steak straight from the refrigerator. What happens is the interior stays cold while the exterior is getting heat. So instead of a lovely, pink, medium-rare steak, you get a gray, overdone, dry hockey puck.” Allowing the steak to reach room temperature ensures more even cooking, resulting in a tender and juicy steak
3) Preheating your Smoker/Oven
Preheat your oven or smoker to a low temperature, typically around 250°F (120°C). The goal is to gently cook the steak and bring it to the desired internal temperature before searing. If you’re using a smoker, we recommend using Oak wood or pellets. Oak is a versatile and commonly used wood that provides a mild smoky flavor. It pairs well with various cuts of steak and enhances the natural flavors without overwhelming them.
4). Seasoning the Steak
Generously season the steak with salt and pepper or your preferred seasoning blend.
As famous chef Bobby Flay advises, “Seasoning a steak is not complicated. A generous amount of kosher salt and freshly ground black pepper is all you really need to enhance the natural flavors of the meat.” Let the flavors infuse into the meat by allowing it to rest for about 10 minutes before cooking.
5) Slow Cooking in the Smoker or Oven
Place the seasoned steak on a wire rack set over a baking sheet or directly on the smoker grates. This allows air to circulate around the steak, promoting even cooking. Insert a meat thermometer into the thickest part of the steak, making sure it doesn’t touch the bone if present.
Slow cook the steak in the preheated smoker or oven until it reaches an internal temperature of about 10-15°F (5-8°C) below your desired doneness. This process can take anywhere from 30 to 60 minutes, depending on the thickness of the steak.
6) Resting the Steak
Once the desired internal temperature is reached, remove the steak from the oven and tent it loosely with aluminum foil. Allow it to rest for about 10 minutes. This rest helps redistribute the juices and ensures a moist and flavorful final result.
7) Preparing for the Sear
While the steak is resting, preheat a cast-iron skillet or grill pan over high heat. You want it to be scorching hot to achieve a beautiful sear.
If you prefer to use a grill, make sure it is preheated to the highest temperature available to create the desired caramelization on the steak’s surface.
8) Searing the Steak
Carefully transfer the rested steak to the hot skillet, grill pan, or grill. Sear each side of the steak for about 1-2 minutes, or until a caramelized crust forms. The goal is to achieve a nice hard sear on both sides, creating a flavorful outer crust while keeping the inside tender and juicy. Allow the steak to develop those beautiful grill marks or a deep brown color in the skillet, indicating a perfect sear.
9) Resting and Serving
Once seared to your desired doneness, remove the steak from the heat and let it rest for a few minutes before slicing. This final rest allows the juices to settle, resulting in a moist and tender steak. Slice against the grain and serve immediately, savoring the delicious flavors and perfect texture. Congratulations! You have now learned how to reverse sear a steak.
By learning how to reverse sear a steak, you’ll unlock the secret to perfectly cooked steak every time. From selecting the right cut and slow cooking in the oven to achieving a sizzling sear, each step plays a crucial role in creating a steak that is tender, juicy, and bursting with flavor. Embrace this technique and elevate your steak-cooking game to new heights, impressing family and friends with a culinary masterpiece that is sure to delight their taste buds.


